


We all know that each developer is in the constant search of the perfect home for their code. This means that they are incessantly looking for a tool that would be capable of handling their own tasks in the most convenient and comfortable manner. Each of the developers has their own idea of what works best for them, which often leads to trying out several tools until the solution is found in The Welkin Suite IDE.
While changing the tool per se takes no more than a few minutes to install, moving all the work into the new environment requires a little effort. However, with the proper guidance and informational support, this process will go smoothly, and you will avoid any possible pitfalls on the way.
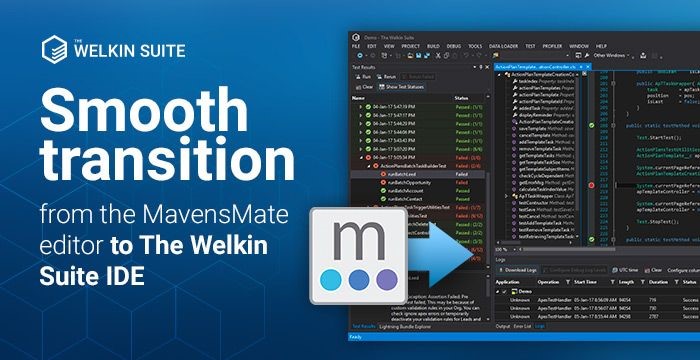
In this article we will walk you through the transition from MavensMate to The Welkin Suite - making sure that, together with reading this piece, you will spend 20 minutes on the entire process at most.
Naturally, the first thing to do would be to install The Welkin Suite. You can find the step-by-step guide with all the essential information in our documentation.
Moving the development of the existing project
Both The Welkin Suite and MavensMate use the same "projects" approach, so there won't be anything difficult in switching to TWS in terms of the development.
At the same time, The Welkin Suite stores a lot more additional information about the project and its components on your local machine, for example:
- Information about your customized project structure
- Cached information about the available unit tests, and the data on the previous test runs
- Previously downloaded Debug Logs
- Anonymous Apex and SOQL files
- Bundled Ant Migration Tool, if needed
- Local History
Due to the fact that this additional information is not available in MavensMate's projects, we can not convert them to TWS project directly. However, you can get past this with just a couple simple steps.
There are two different cases:
- Local and Salesforce org content are 100% the same - Synced project
- There are some local changes which are not present in the org - Local project ahead
Synced project (Windows version)
In case the content on your org matches your local content completely, all you need to do is to create a new project for the same org in TWS, and start working with it. To do this, please go through the following steps:
- Open The Welkin Suite
- In the main menu, select File -> New -> Project or press CTRL+SHIFT+N
- Select "Salesforce Project"
- Enter the project's name, and select a location. By default, TWS creates the Solution Folder and Project Folder hierarchy. But if you would like to have the same approach as MavensMate has - simply deselect "Create directory for solution" checkbox. Press Next.
- In the project creation wizard, please enter your credentials, or use OAuth2 to specify the org
- Select metadata components to be included in the project
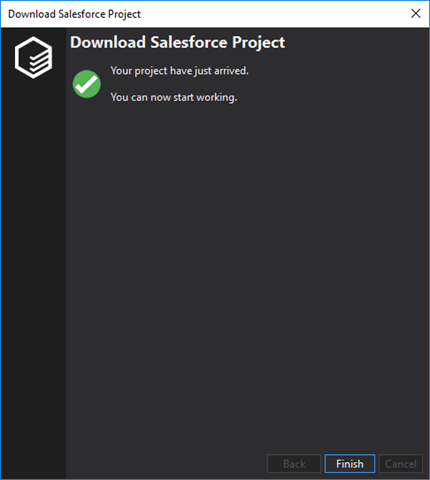
- Wait for about 1-2 minutes for your project to be downloaded.
That is it - you can now start working with your project!
Synced project (Mac version)
For Mac, the process of moving the synced project is very similar. You also need to create a new project for the same org in TWS, and then perform the following actions:
- Open The Welkin Suite
- In the main menu, select File -> New -> Solution or press ⇧⌘N
- Select "Salesforce Project"
- Enter the project's name, and select a location
- In the project creation wizard enter your credentials
- Select the metadata components to be included in the project
- Wait for about 1-2 minutes for your project to be downloaded.
Voila - you can start working with your project!
Local project ahead
Such a case may appear when you have some unfinished work in your local project folder, but you cannot, or don't want to deploy it to the org yet. To proceed with the development using the great new tool, you need to go through the following steps:
- Follow the steps from the "synced project" section above. Please make sure that you select the same metadata components you had in your MavensMate's project.
- If you are 100% sure you know in which files your unfinished work is located, you can just copy them into the new TWS project
- Otherwise, copy the "src" folder from the MavensMate project, and paste it to the new TWS project's folder, overwriting all changes.
- Continue developing.
Please note that in case you are copying and pasting the entire "src" folder, there is a chance to override someone's changes on the org itself, if your previous MM project was synced with Salesforce a while ago. In all of the consequent deployments, The Welkin Suite will prevent you from doing such things, however, the first time is not protected by our built-in conflicts detection.
Moving the development of the existing project with Git
Luckily, MM and TWS are using nearly identical project structure in the File System. That is why, moving the existing project that is stored in Git repository to The Welkin Suite requires almost the same actions, as moving the project without Git (which is described above), but with a couple of small differences.
Before creating TWS project, you need to:
- Commit your changes to Git
- Remove (or move to any other folder as a "backup") everything from the MM project's folder, except for the ".git" hidden folder.
When creating a TWS project you need to:
- Specify the parent folder of the MM's project as a location
- Enter the same project name
- Uncheck the "Create directory for solution" checkbox (on Windows)
- Select the same metadata components as you had in the MavensMate's project.
After creating a TWS project:
- In your Git client (or in The Welkin Suite's Version Control panel on Windows), you should see several changes - the deleted "config" folder with all MM's settings, the deleted "*.sublime-*" files, the added TWS project and solution files, and the added "ant" folder if you have selected it when creating TWS project.
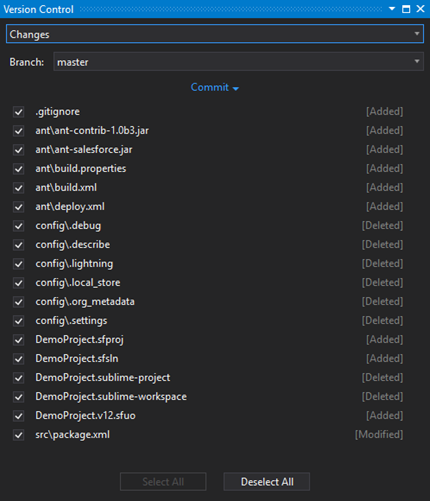
- In addition to the abovementioned changes, you will see some changes for each of the included Static Resources, as TWS always unzips and stores them in the "resource-bundles" folder with a bit different names, compared to MM.
- In The Welkin Suite for Windows, you should open the Version Control panel, switch to the "Settings" view, and click "Update .gitignore".
- Alternately, you can manually add the following lines to the .gitignore file:
/.localHistory
**/.localHistory
*.sfuo
TestCache.xml
TestsResultsCache.xml
- Commit your changes to the repository
In case you have multiple branches in the repository - you should repeat the same action for all of them.
Please note that if you have the metadata types in your Git repository that are not yet supported by The Welkin Suite, you need to additionally use the bundled Ant Migration Tool to retrieve those metadata types before committing your changes to the repository.
With this detailed description, we are sure that you will hardly notice the transition process! We tried to cover every case possible, but if something completely unexpected comes up when you will be moving your project - don't hesitate to contact us. And most importantly - enjoy the world of Salesforce development in The Welkin Suite's most comfortable development ecosystem!

Your comment may be the first